 "Have car, will drive (now has a motorcycle too)" (havecarwilldrive)
06/04/2016 at 21:18 • Filed to: Motorcycle, Two Wheels Good
 1
1
 5
5
 "Have car, will drive (now has a motorcycle too)" (havecarwilldrive)
06/04/2016 at 21:18 • Filed to: Motorcycle, Two Wheels Good |  1 1
|  5 5 |
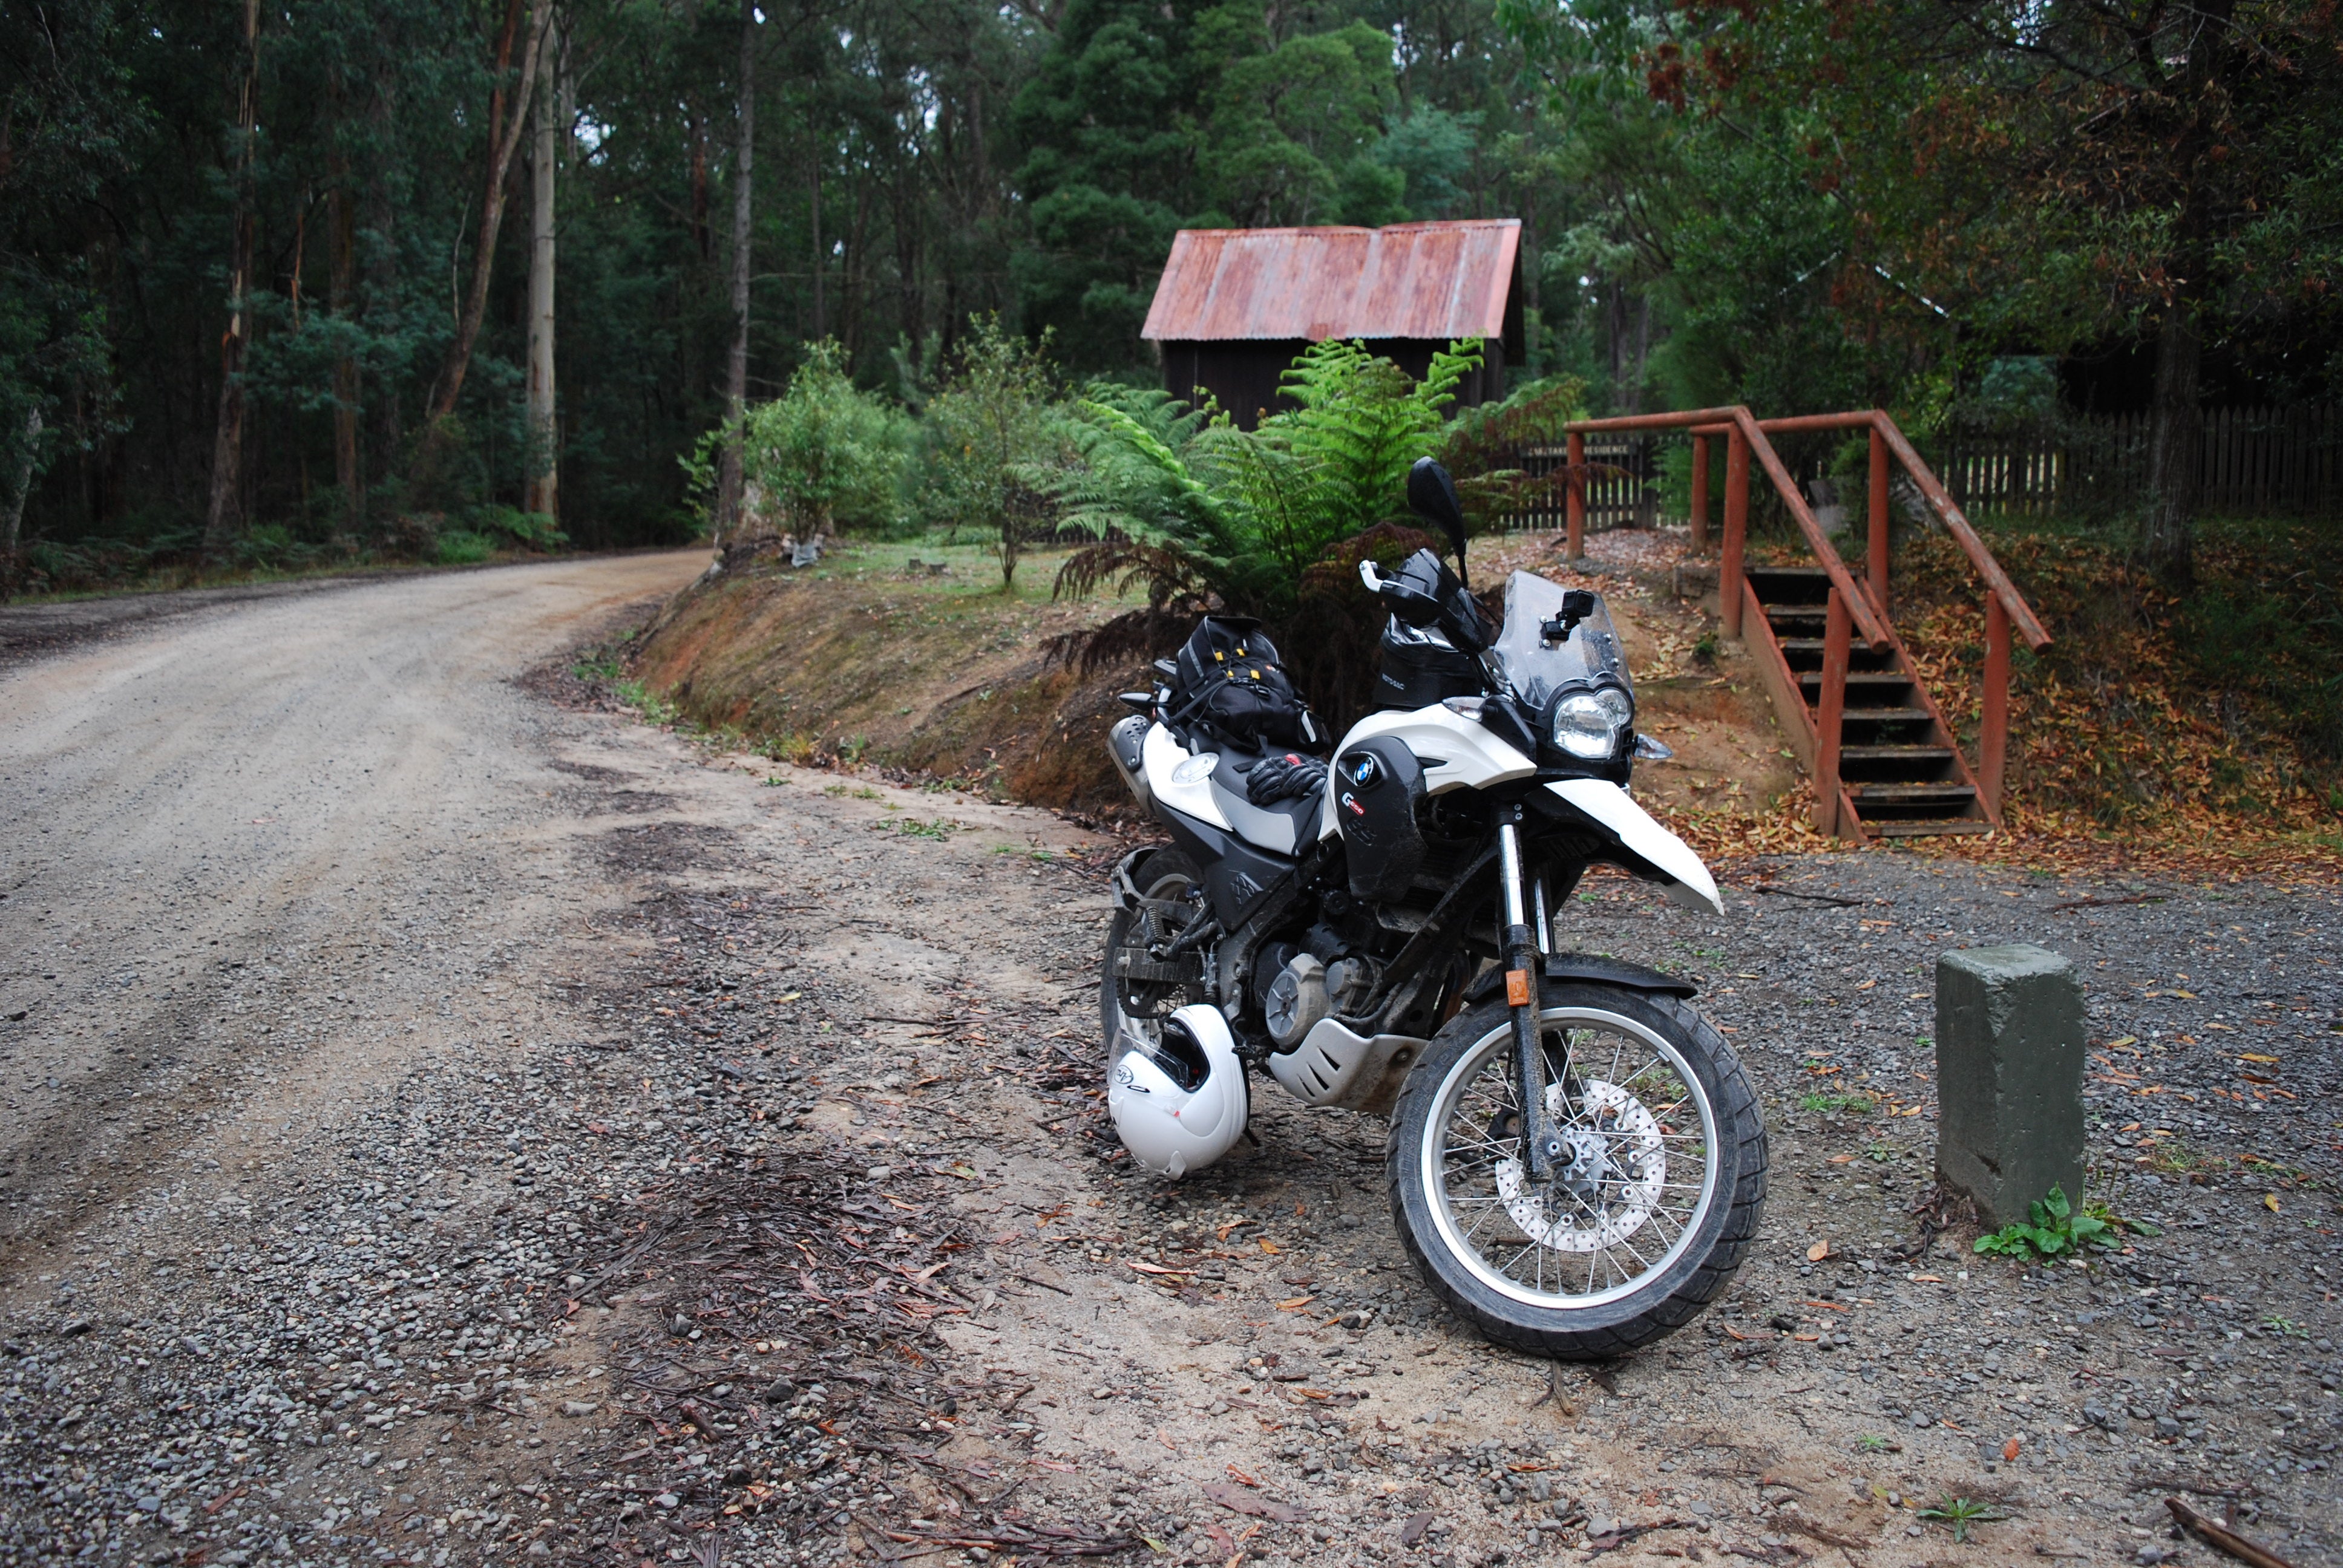
The before photo - a recent dirt-road ride on the Tourance EXPs
In preparation for attending BMW’s offroad rider training next weekend, last Saturday it was time to swap out the road-biased Metzeler Tourance EXPs on my BMW G650GS for some more dirt-worthy Continental TCK80s. Eager to increase my DIY maintenance skillset, and with my confidence bolstered after watching a few how-to videos on youtube, I decided I should attempt the change myself rather than pay a tyre shop for the privilege. So I recruited my father for some extra labour, and set to work – not realising that the task I had now committed myself to was going to be much more challenging than I had anticipated.
Things got off to a bad start when the front wheel didn’t seem to be able to come off as suggested by the owner’s manual. The manual suggested to simply “remove” the axle after releasing the clamping bolt at one end. It neglected to mention that the axle actually need to be unscrewed – with a 8mm hex wrench that is not included in the bike’s toolkit. I did have a 8mm hex bit (from a cheap set of assorted screw/hex/torx bits), which I attached to the ratchet handle from my socket set, however the axle was screwed sufficiently tight that it was going to budge with hand strength alone. Applying a good portion of my weight to the wrench as I stood on the handle, I just started to feel some rotational movement when … snap. The rotational movement was simply the twisting of the hex bit, which had now been destroyed.
After a short break to acquire a proper 8mm hex wrench from the hardware store, we were finally able to break the front axle free. From there the front tyre was mostly straightforward, though we had to wrestle with it on a few occasions – no doubt increased by our lack of experience with the task at hand. Interestingly the hardest parts of both removal and installation were the last step of each process – prying the rim from the last remaining side of the tyre and getting the last edge of the new tyre onto the rim.
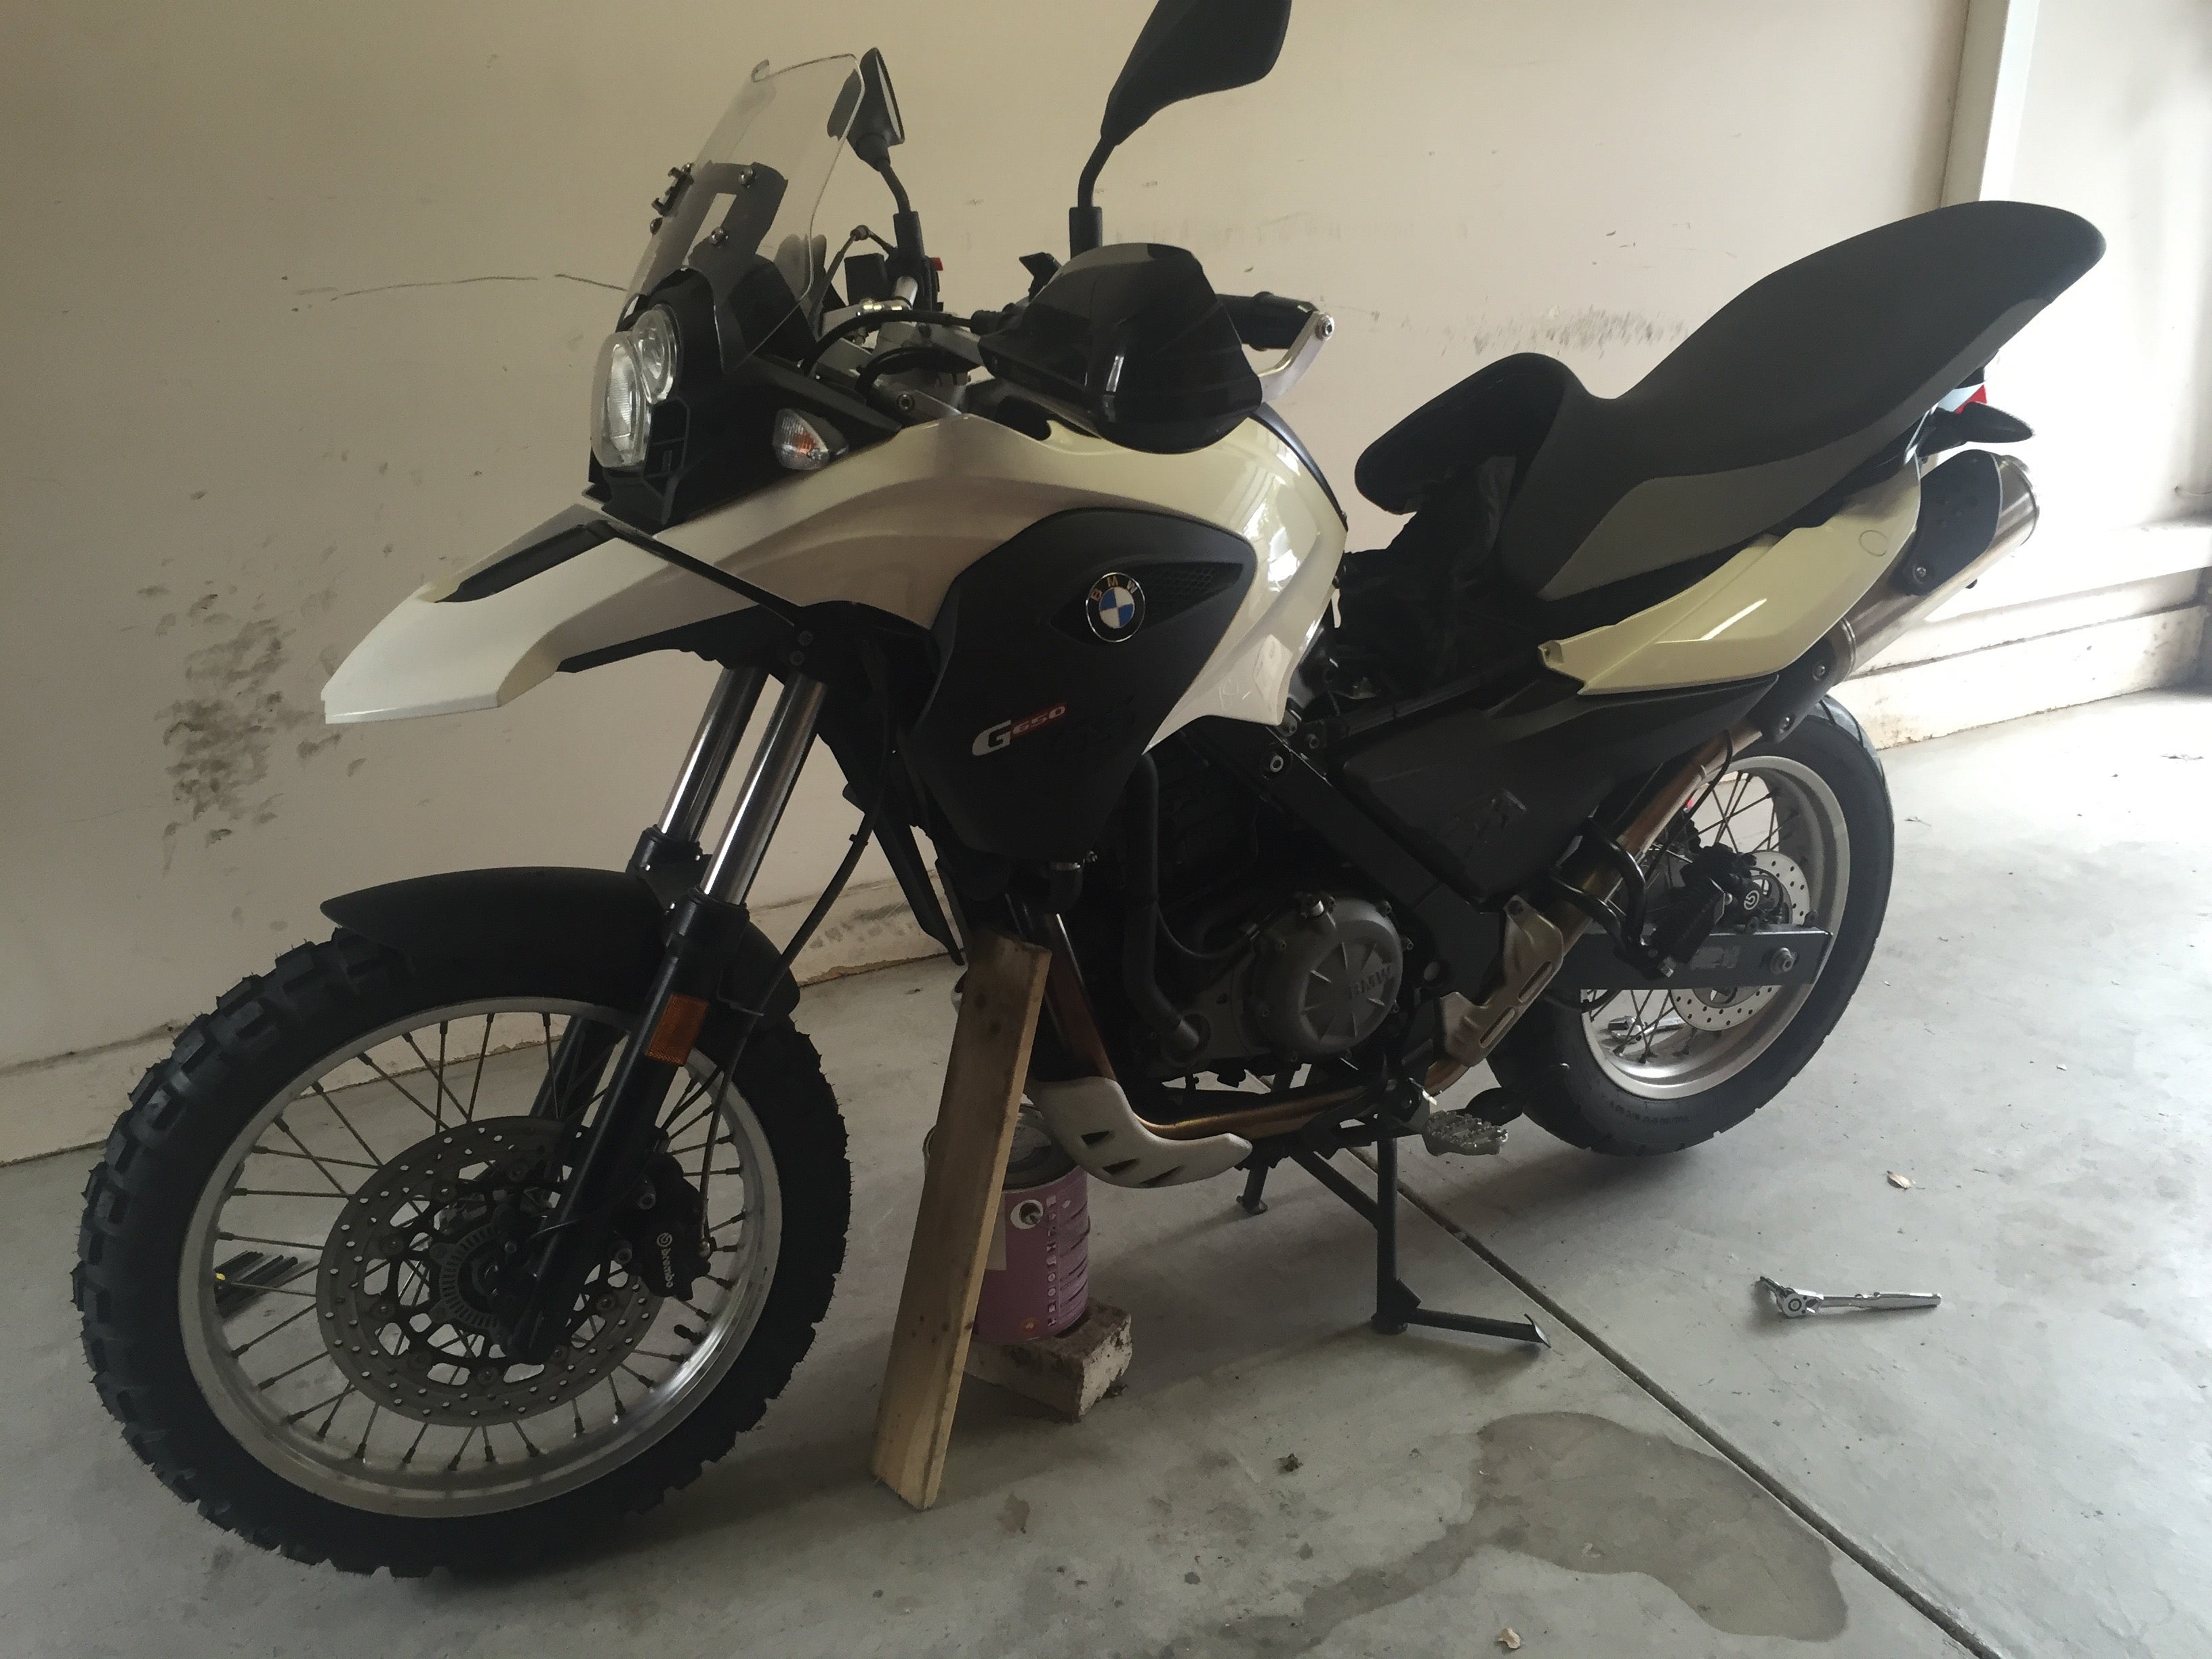
Front tyre completed
Unfortunately, after we had finally finished the first tyre, my dad had exhausted his time allocation and had to go. So after a short break for lunch I proceeded to attempt the rear wheel alone, filled with (misguided) confidence from our success with the front wheel. However it didn’t take long for me to realise the rear was going to be no walk in the park – just trying to break the bead was noticeably harder than on the front. However, with a bit of persistence I had broken the bead on both sides, and was eager to proceed (now is probably a good time to note that I was doing all of this with only hand tools – no special “bead breaker” or anything – just me and a couple of tyre levers). When it came time to pull the old rear tyre off the rim my wife stepped in to help with some extra muscle, and we managed to get the tyre off with only minor injuries.
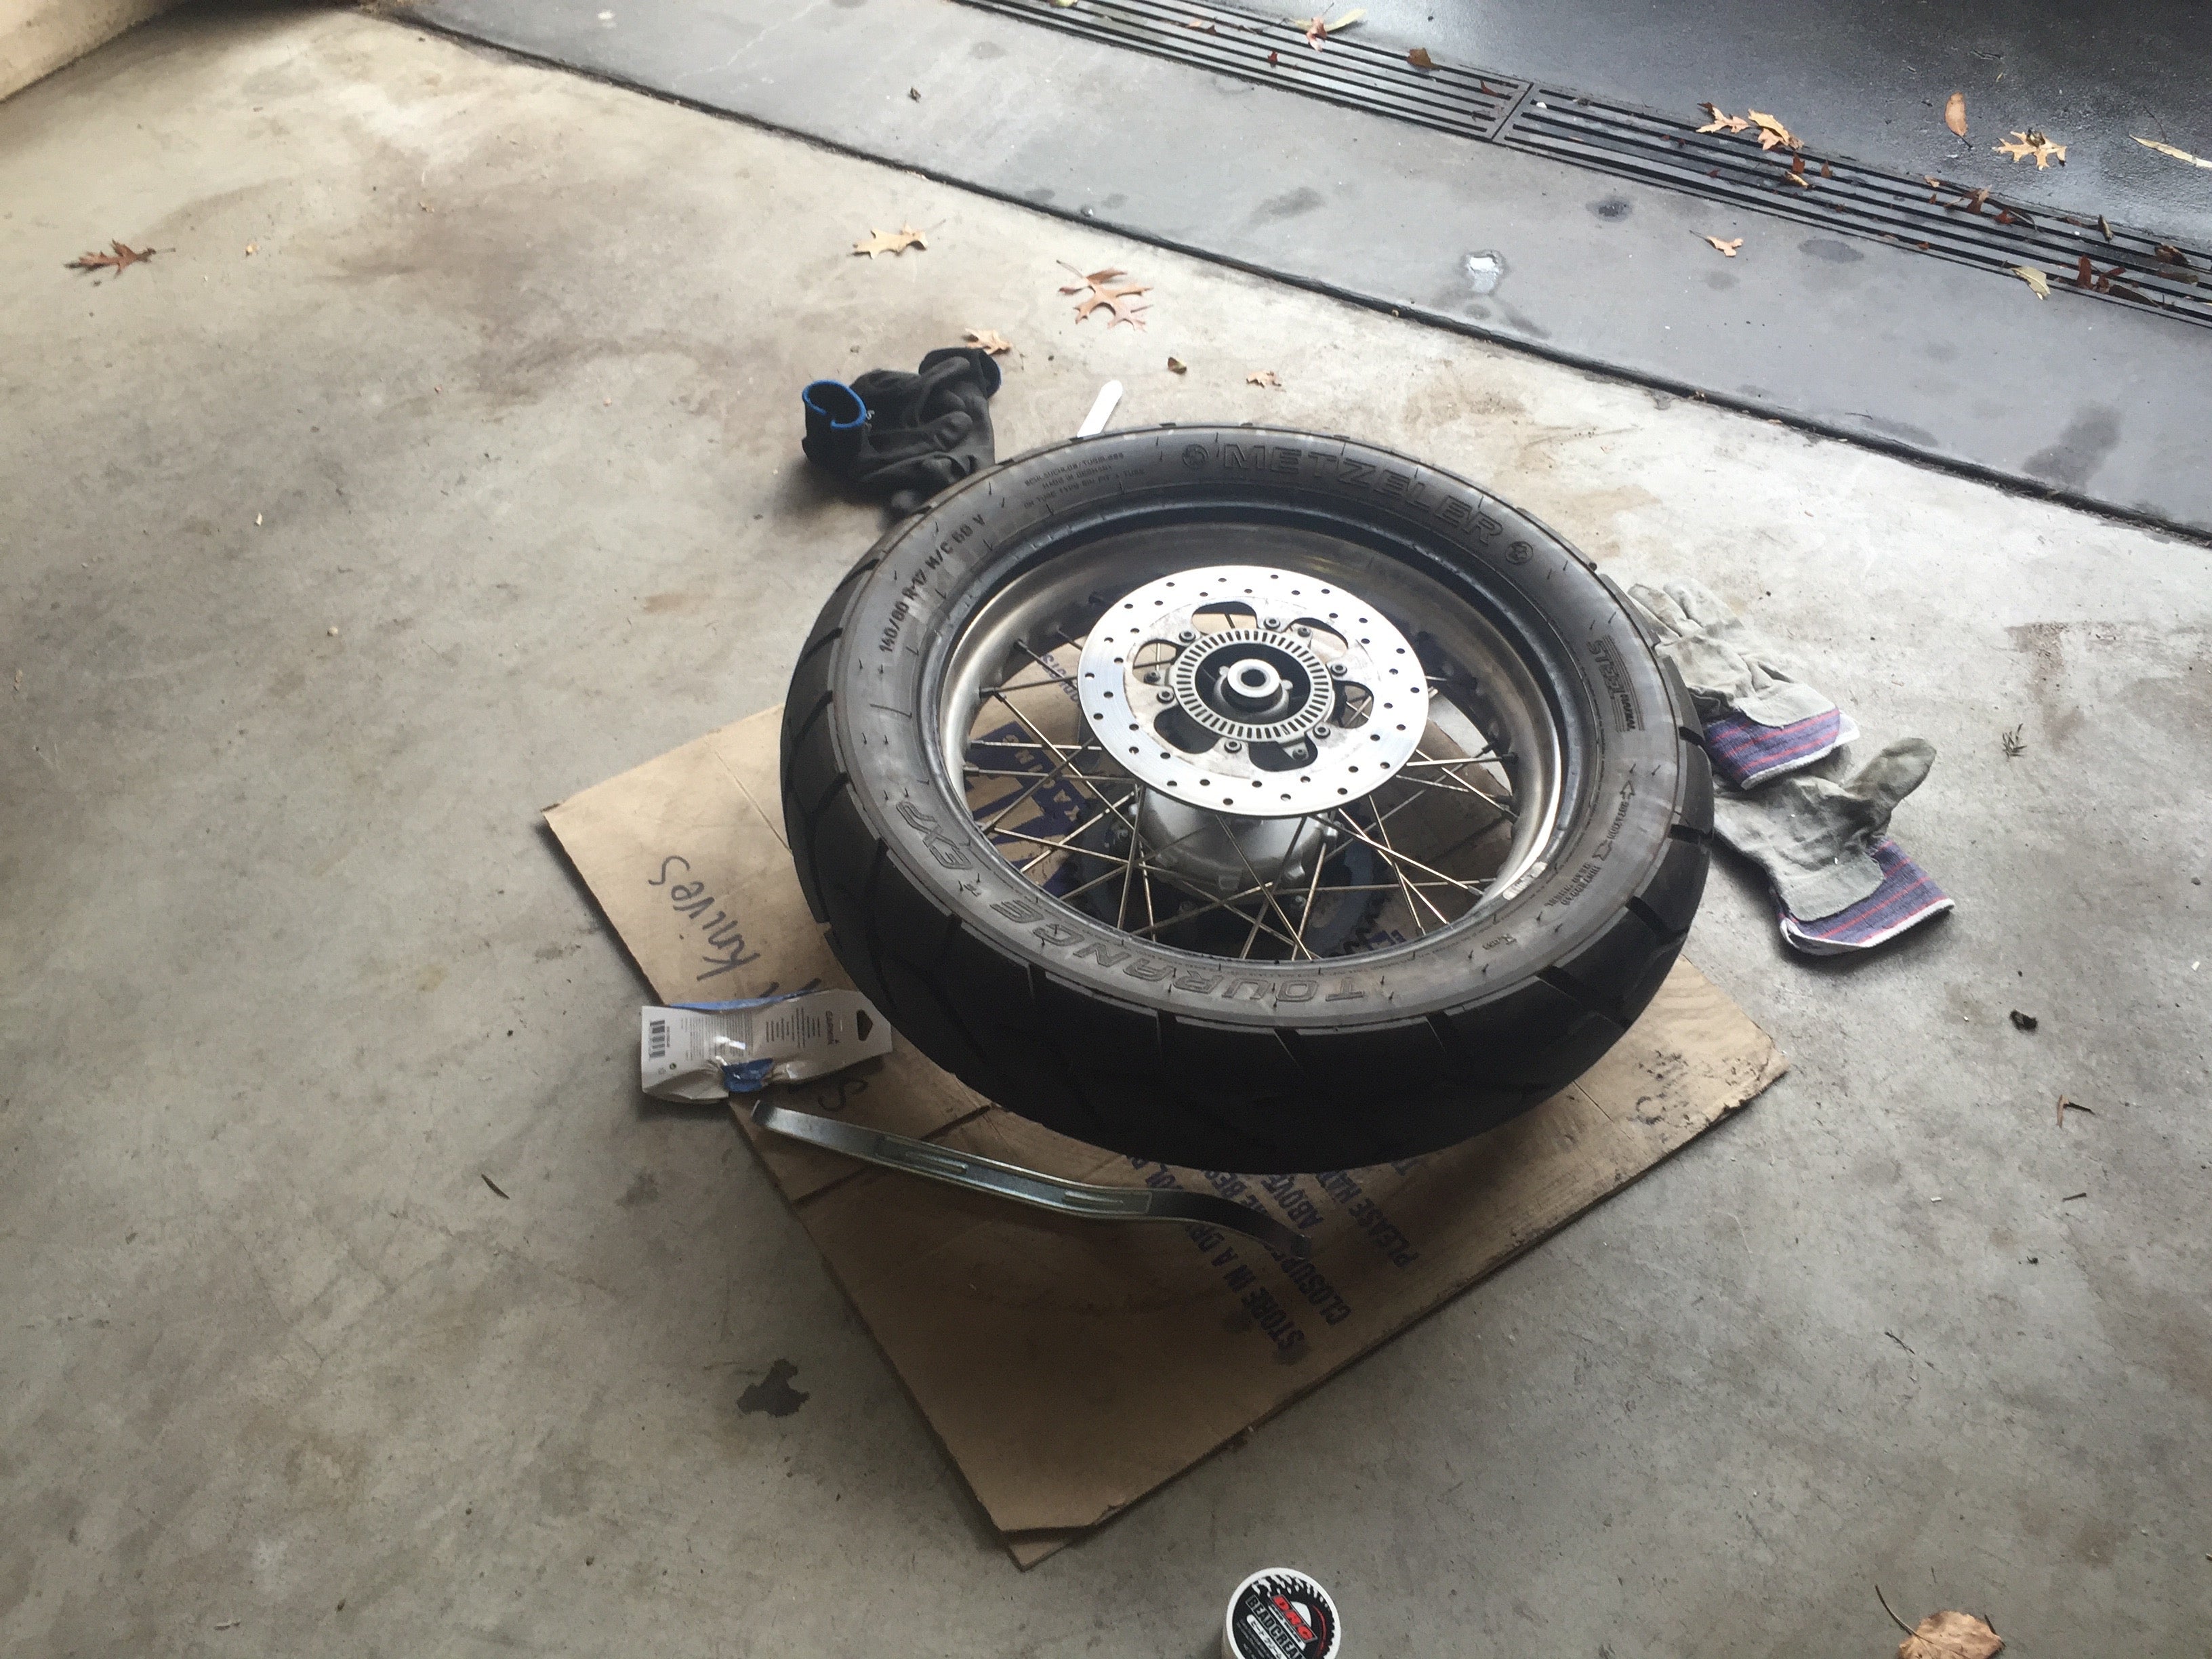
Removing the rear tyre - so far so good!
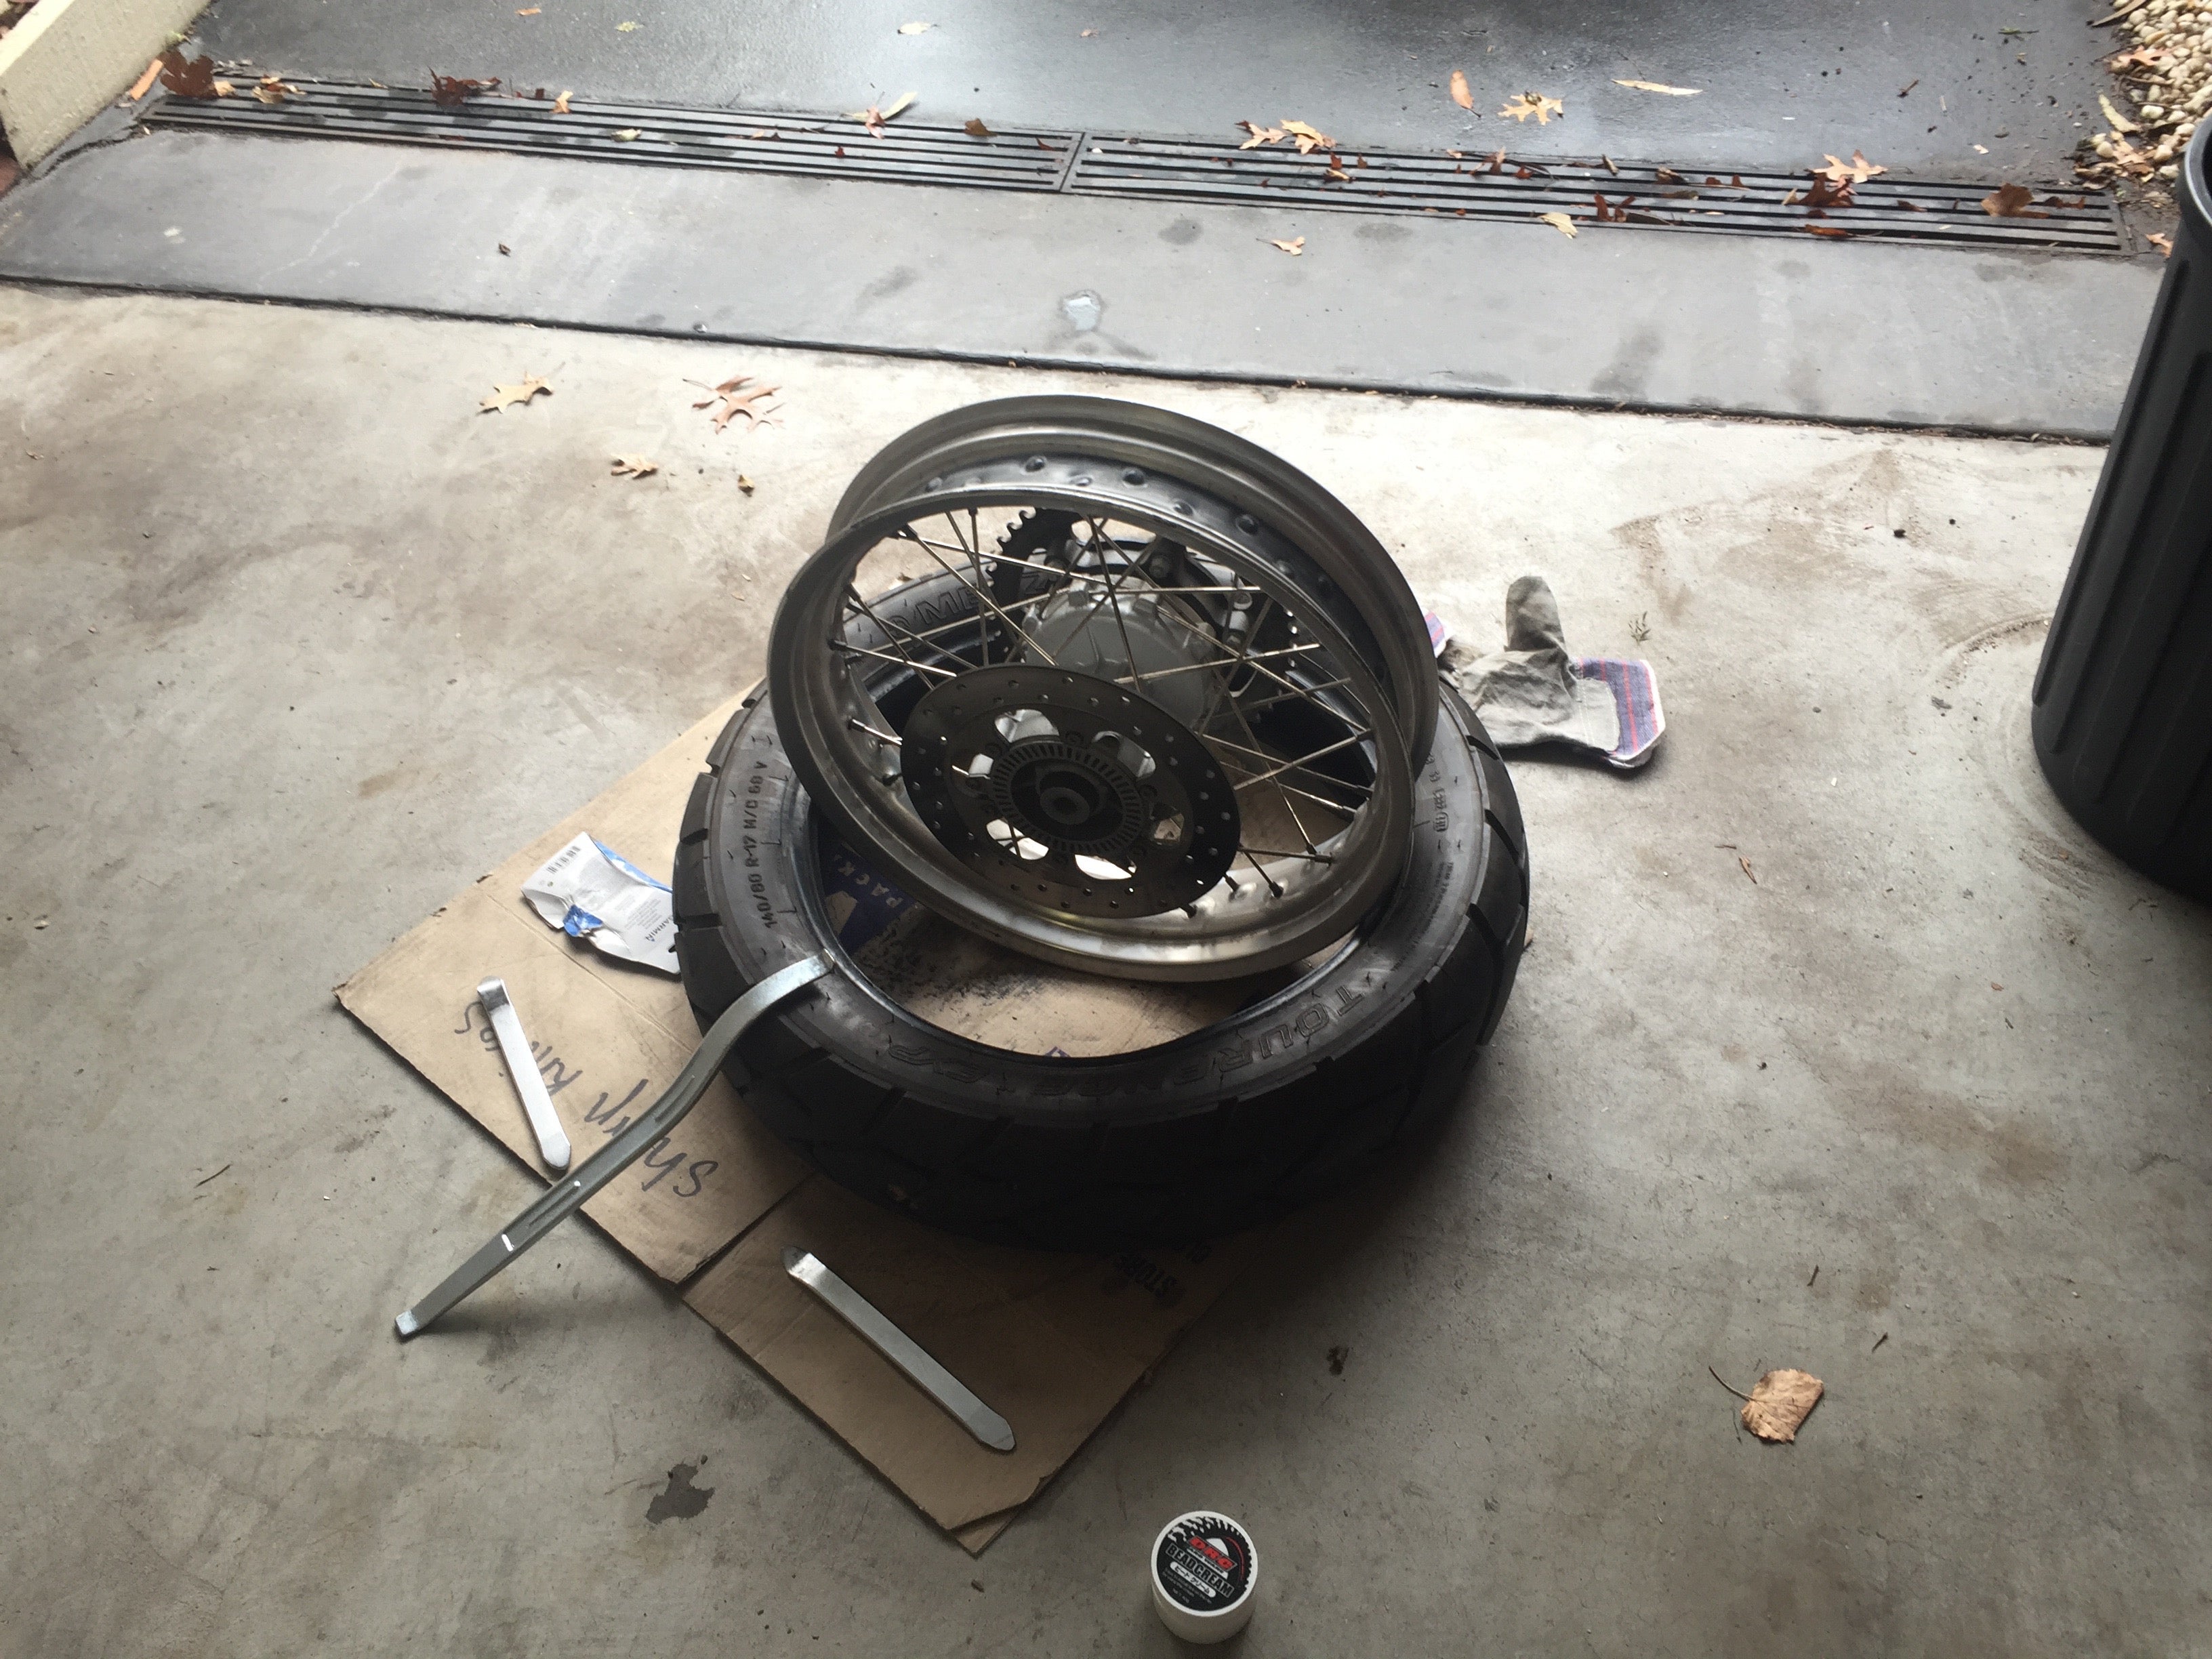
It’s out!
However, when it came time to get that last bit of the new tyre on the rim I was stuffed – even with my wife’s help I could not get the last bit of the tyre onto the rim. At this point I was at a complete loss, so decided to take a break and give it some thought before I did damage to myself, or worse, damage to the tyre!
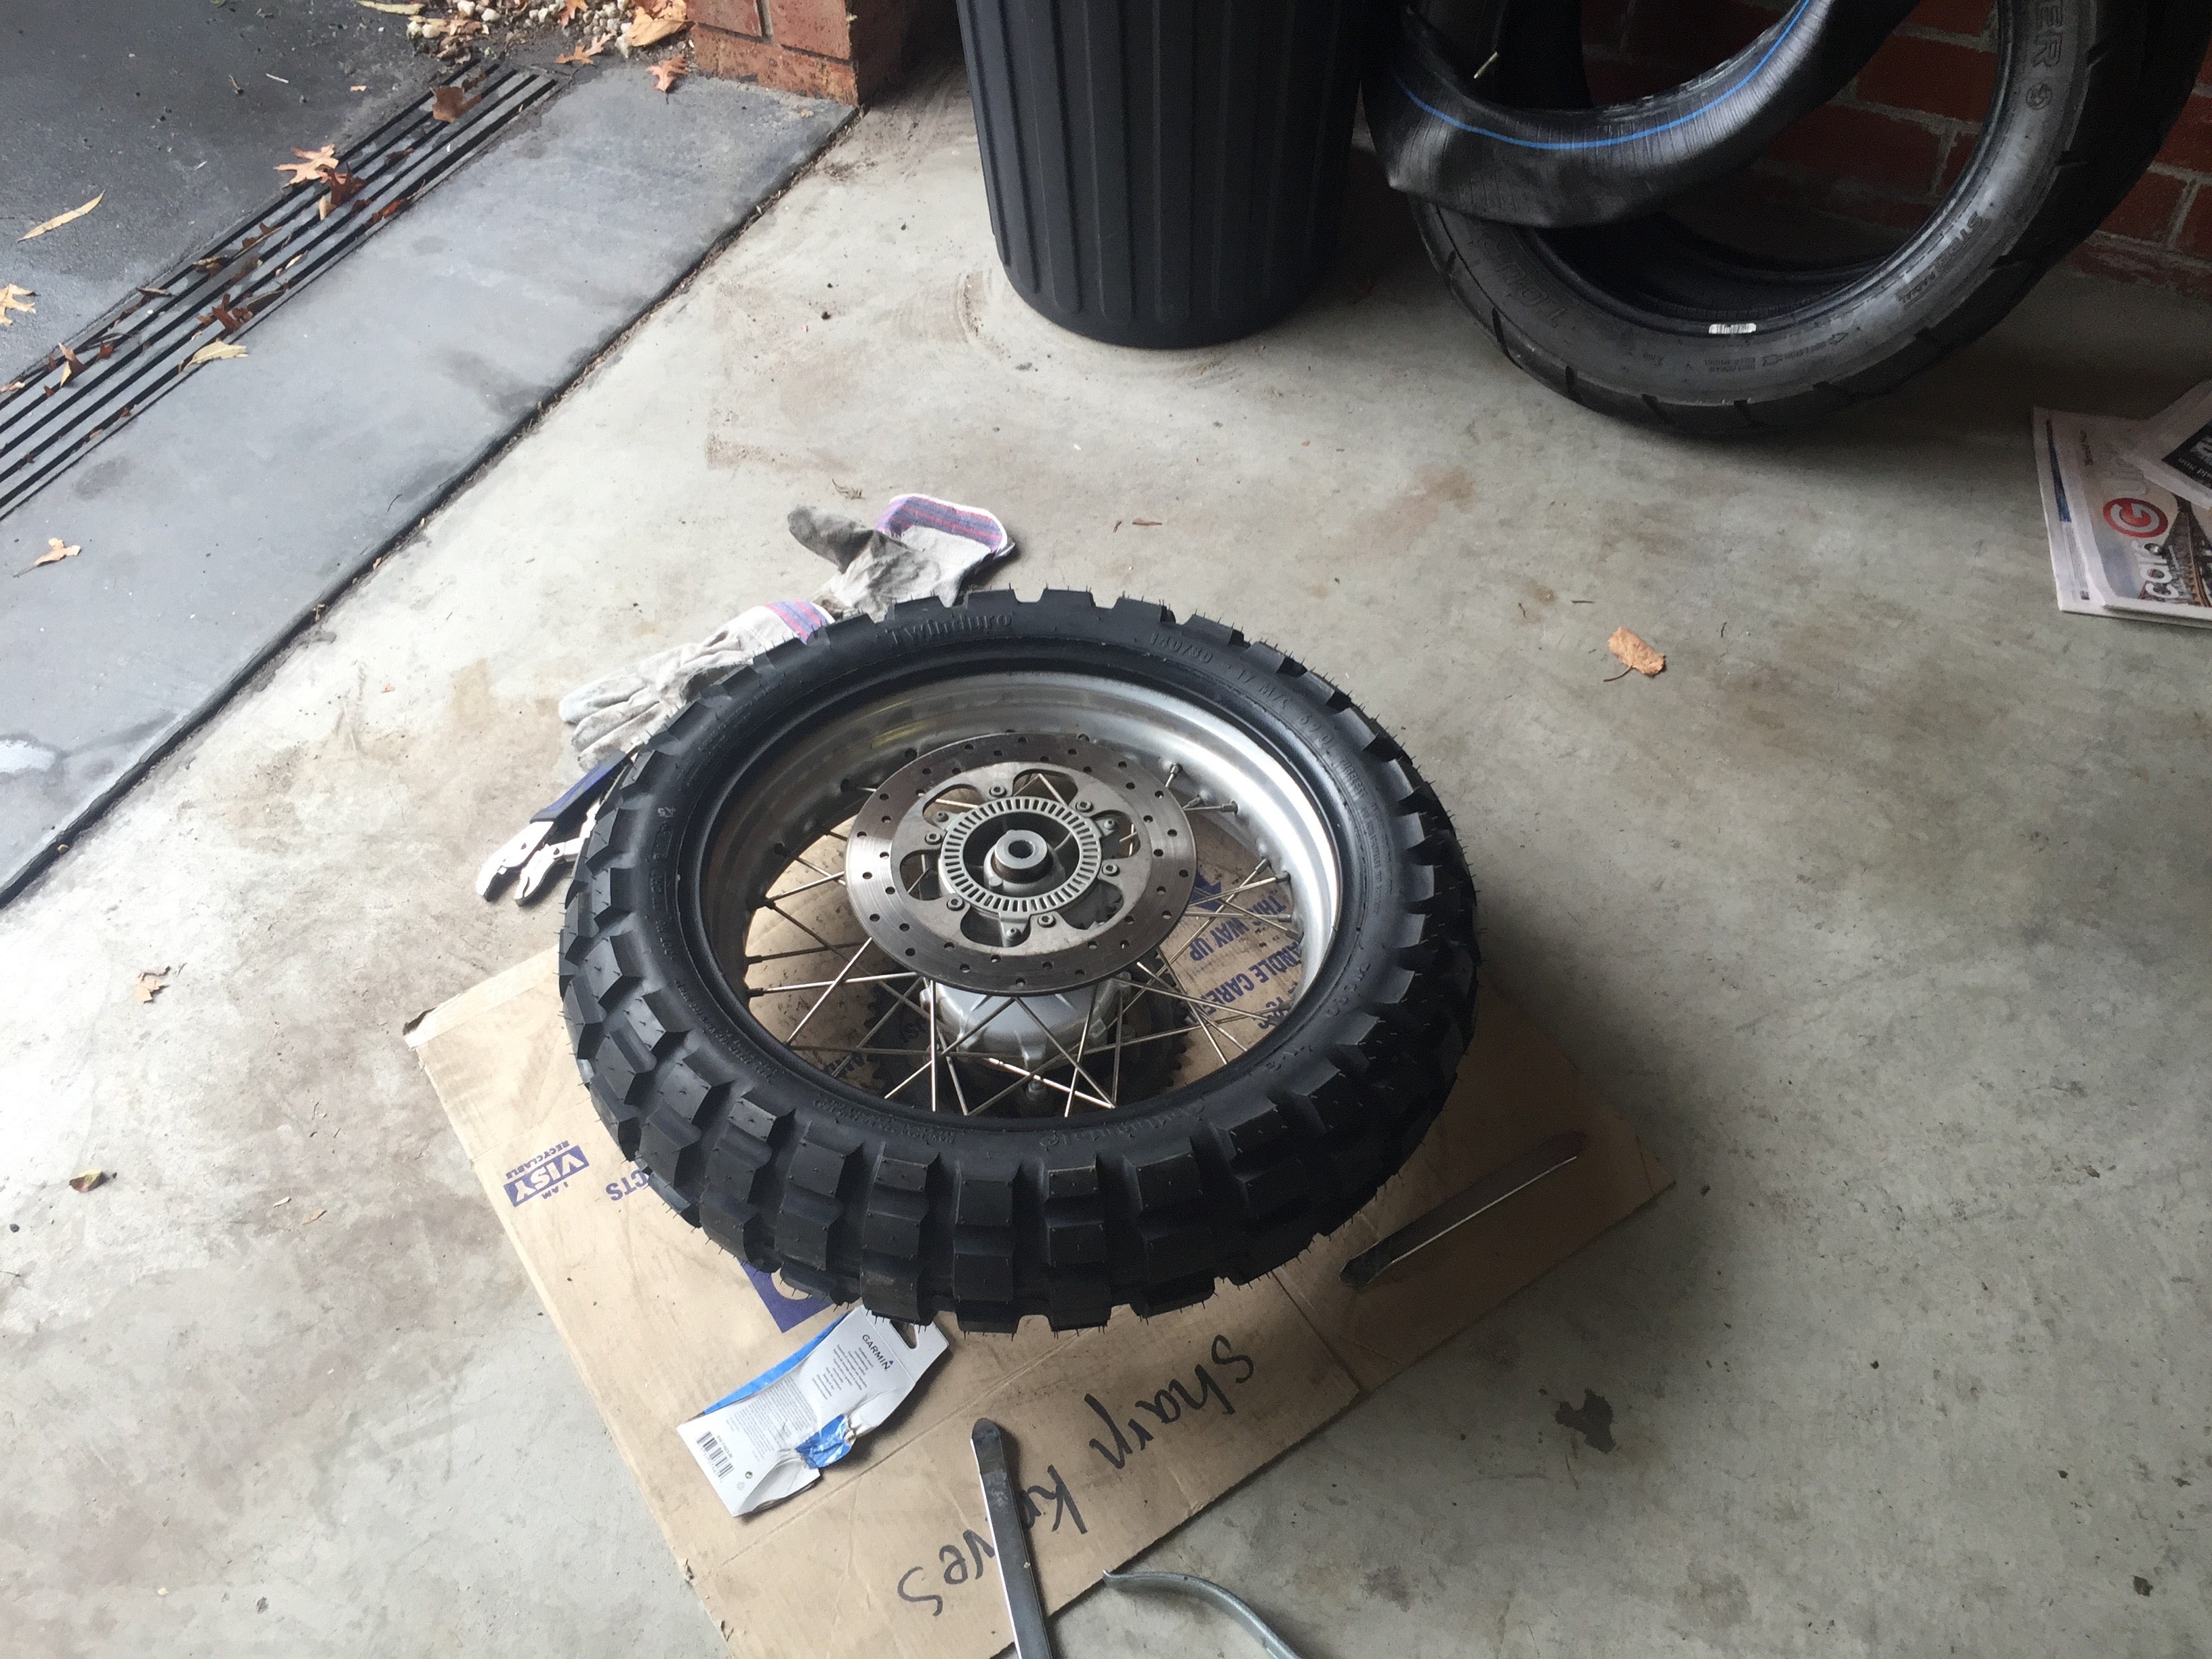
Easy side of the new rear tyre complete. It was all downhill from here.
Fast forward a couple of hours and my dad was able to drop in briefly again in the hope that with three sets of hands we might be able to get it on. In the interim I had done some googling and found a suggested technique to assist in this situation – slipping the opposite side of the bead into the groove in the middle of the wheel to give a bit more play. Thankfully this was all the assistance we needed, and we were able to finally get that last bit of tyre on the rim.
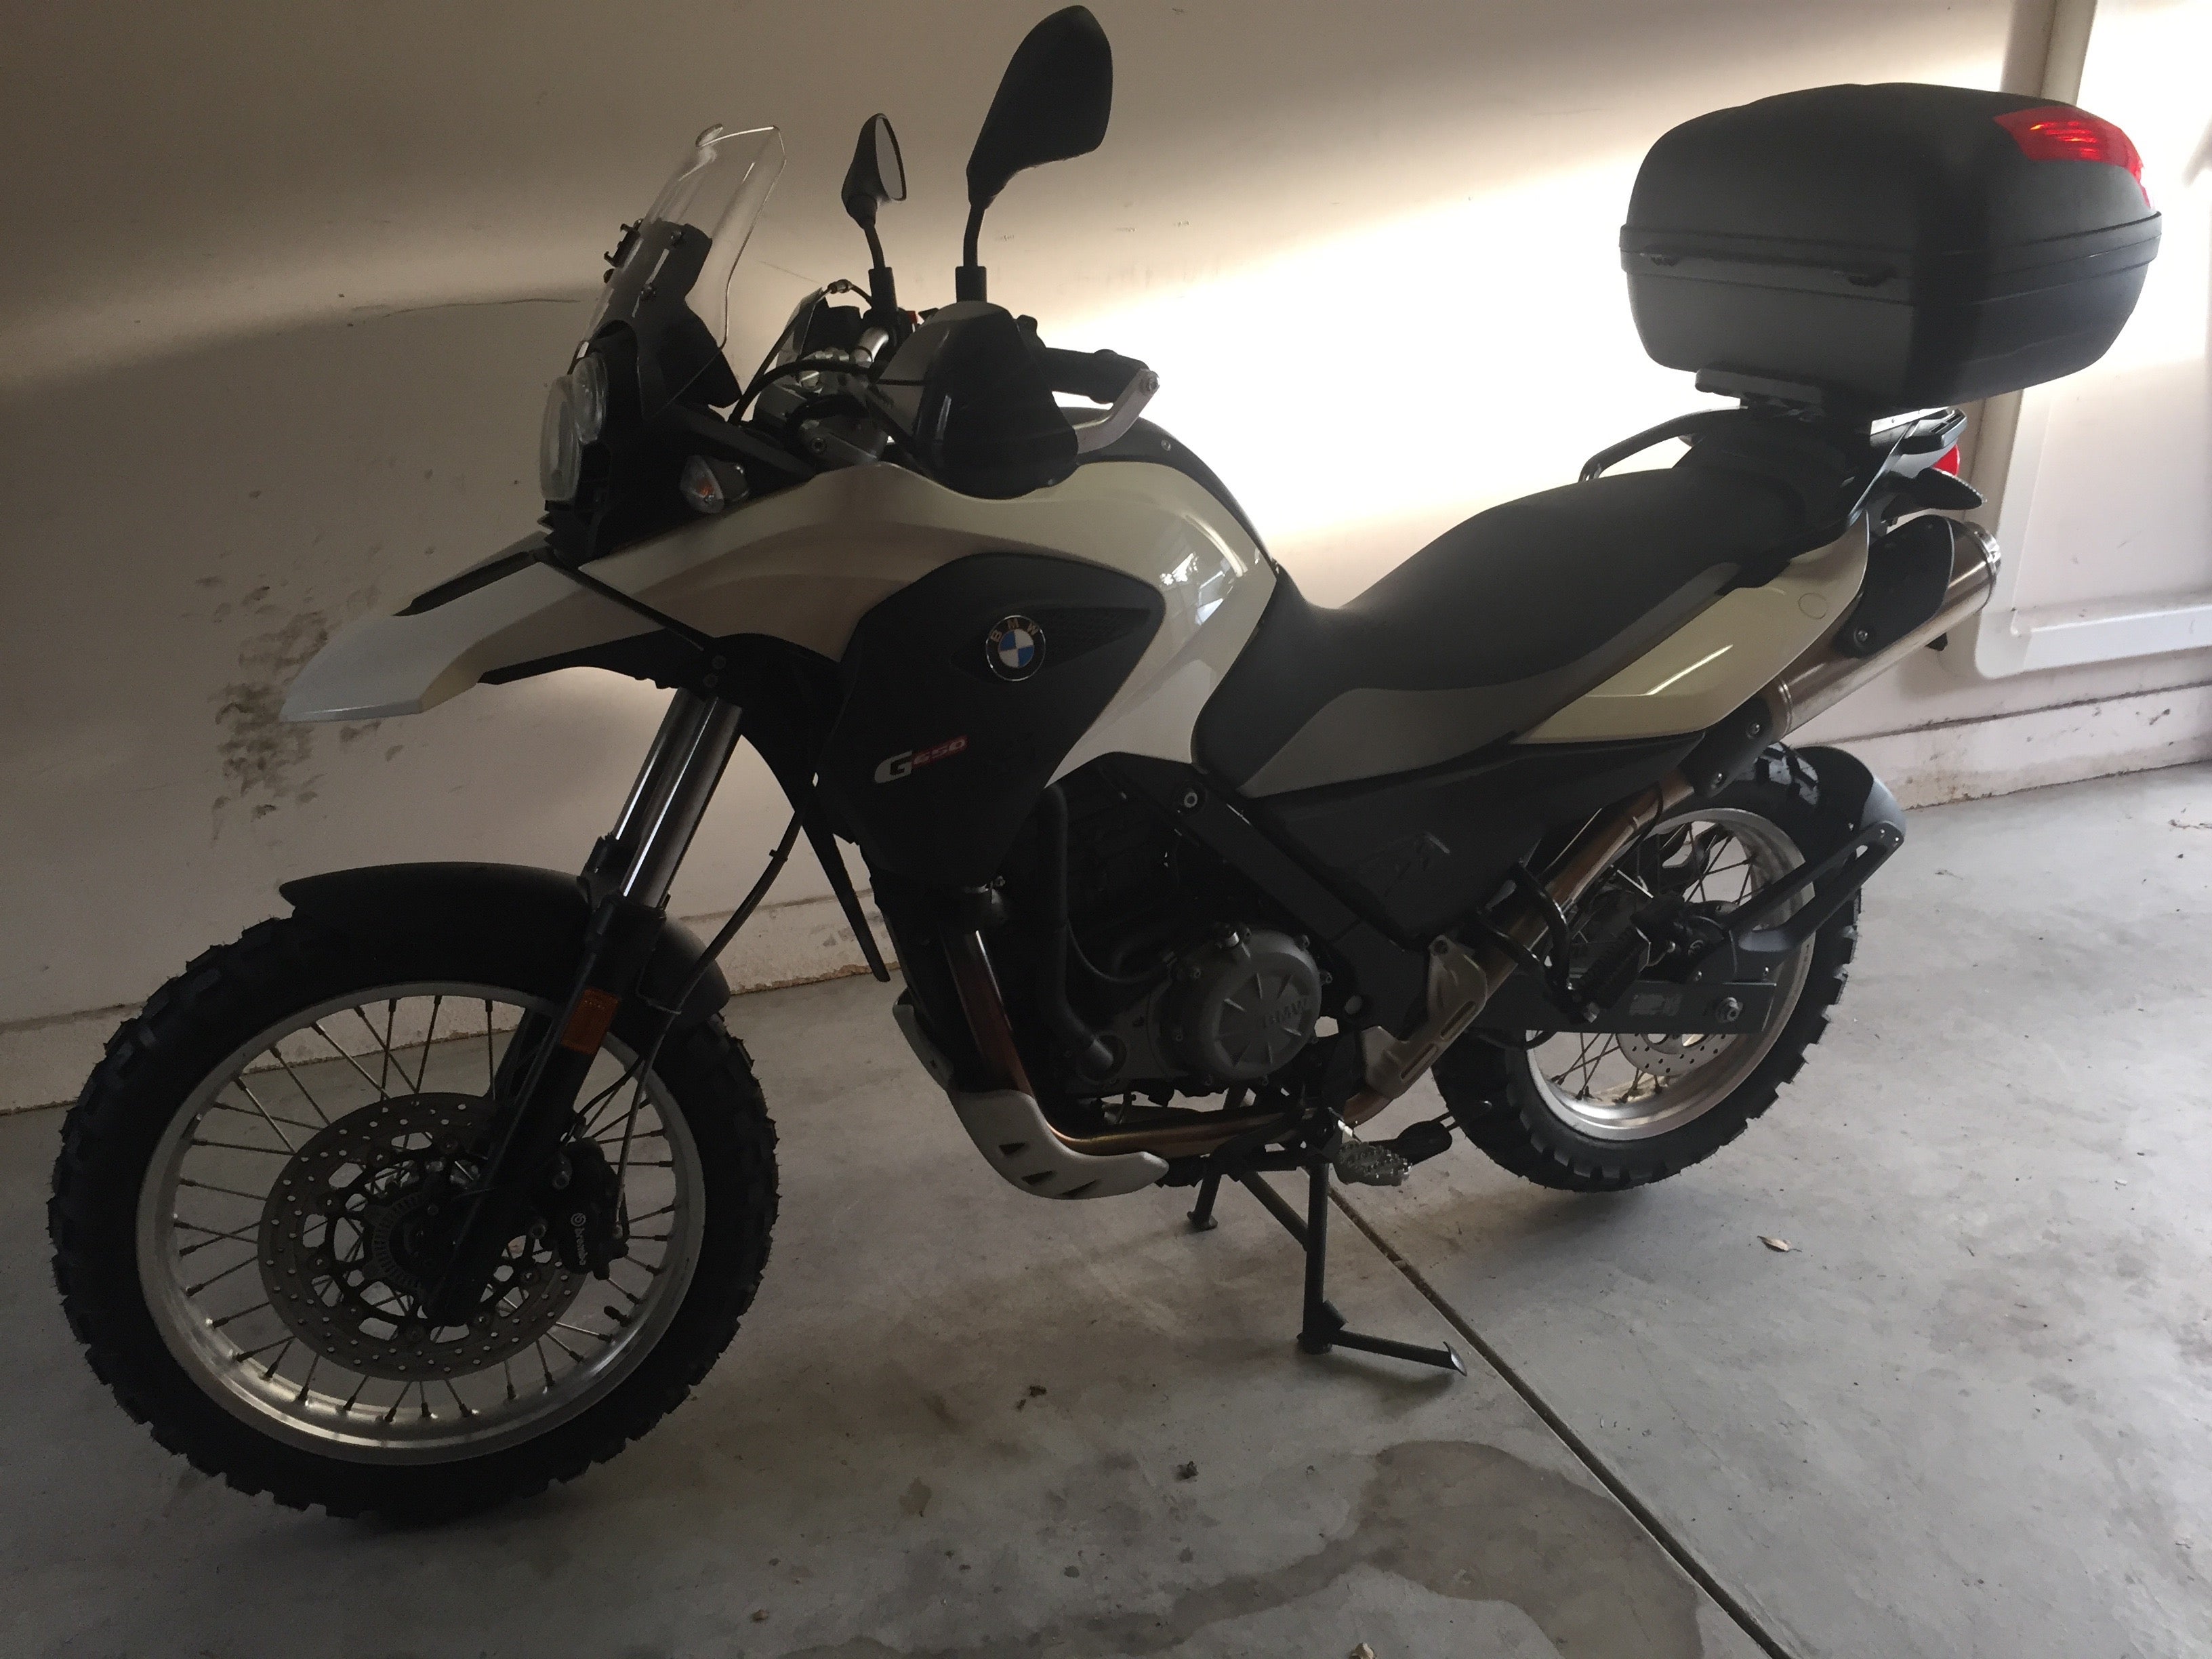
Finally, job completed
I’m really happy with how the new tyres are looking on the bike – I can’t wait to try them out in the dirt! (So far this they have just been doing commuting duties on the tarmac)
 Birddog
> Have car, will drive (now has a motorcycle too)
06/04/2016 at 21:33 |
|
Those tires look awesome.
I have a tip. If you have the luxury, set the tires out in the sun, let them get good and warm and use a good lubricant. Wire pulling gel works great for breaking and mounting Bike tires and ATV tires.
 Have car, will drive (now has a motorcycle too)
> Birddog
06/04/2016 at 22:06 |
|
Thanks for the tip!
The lubricant I was using was pretty effective (I was able to get the first side of both tyres on to the rim without levers) but I hadn’t thought about sitting them in the sun. I will definitely try it next time (assuming some sun is available - there was a bit of a shortage at the time)
 BobintheMtns
> Have car, will drive (now has a motorcycle too)
06/04/2016 at 23:53 |
|
Yeah... I had changed countless mtn bike tires and figured a moto tie couldn’t that much more difficult... After several hours, and inventing many new four-letter words I did it... But life’s too short for that crap.. I just pay to have someone swap them now....
 Birddog
> Have car, will drive (now has a motorcycle too)
06/05/2016 at 00:05 |
|
I figured sunlight was scarce. Any way to warm that rubber up makes it easier.
 Have car, will drive (now has a motorcycle too)
> BobintheMtns
06/05/2016 at 00:22 |
|
I can understand your desire never to repeat the experience.
Out of persistence and/or stupidity I do however intend to try again next time. It can only get easier right...?